On communicable diseases and buying reeds

With the current hysteria level related to COVID-19 coronavirus, and two cases reported in my home state of Minnesota, I wanted to write up a little on my process for handling reeds in general. I hope this alleviates some concerns some customers might have about buying reeds from me. I have a compromised immune system myself, so I am hyper-aware of the concern for spreading disease.

First, I NEVER take reeds back from a customer once they have been sold. I would not play on a returned reed myself, and would not expect anyone else to. So rest assured, any reeds you get from me have only ever been handled by me, and me alone. Nobody assists me in my reed making.

I do play test the reeds before I sell them. This means they have been in my mouth. It’s the only way any professional reed maker can confirm that the reeds they sell to the customer are any good! This does mean I take some precautions though, to make sure my customers are safe from anything potentially communicable. I never work on reeds (even handling cane) for my customers when I am feeling any symptoms of illness. Every new step of the reed making process has fresh water in a cleaned container, so there is little chance of cross contamination.

After I have finished a reed it goes into a bath of water and high concentration isopropyl alcohol. The sonic cleaner runs for about 2-3 minutes. This effectively sanitizes the reeds as much as I can without ruining the cane. I wash my hands before rinsing these reeds and putting them on the drying rack to dry overnight. I also wash my hands before I pack the reeds in their tube vials.

These are steps I have always taken when preparing reeds for customers, not any kind of special treatment now due to the global outbreak of COVID-19 or this season’s very high levels of influenza cases.

Cane Density post #4 (final)

Final play testing yesterday and today. Definitely results to report.

Harder cane was more consistent from reed to reed, while the softer cane yielded a wider variety of end results. This takes into account aspects of tone color, dynamics, stability, as well as how much additional work I needed to put into the reeds.

The harder reeds all had a more “brittle” tone to them. Not brighter, but definitely had a more rigid quality to both the sound and the response. I had to scrape all of them a bit more to make them responsive. When I did that little extra scraping they were generally pretty good, but the tonal character of “brittle” never went away completely when compared to what I would consider the sound of my absolute best reeds. They were all quite stable, and ran a bit sharp in pitch comparatively. None of this should be surprising, as it’s what we *should* expect from a harder reed. There were two or three out of the six that I would consider pretty darned good, and all of them would meet my minimum standards for sale, however they did require that little bit of extra work.

Of the softer reeds there was one that I liked quite a bit. The rest had some pretty serious issues. One of the two that side slipped the worst was fine, but as I said in a previous post, the slippage was too great for me to consider selling such a reed. The other side slipped reed played pretty poorly. Of the other four, they were all pretty squishy feeling. One was exactly what I would think of when I think of a reed that is too soft to be useful: extremely flat, sagging pitches, not responsive in the tenor and upper register, quiet and limited dynamic range. However, of the ones that weren’t slipped and that one really extreme one, they were reeds I could make work, and still better than a lot of reeds that are mass produced. I still probably would have put them in the give-away pile.

So conclusions: There is definitely something to the buoyancy test. Cane that measures at extreme ends definitely have qualities you’d associate with harder and softer cane. If you’re making reeds for yourself, I would suggest doing this test on your pre-gouged cane, and weed out the outlying 10% of measurements from reeds you want to make. Use the cane to adjust your machines or something, give it to students that are just learning to make blanks since they’ll probably not make much good their first time or so anyway. What I haven’t yet determined is if the middling pieces of cane are different enough to justify making the reeds differently, if that means gouging differently or using a narrower shape on slightly softer pieces. I don’t use different shapes anyway. But it’s easy enough to adjust the gouge thickness.

I might make a post-final post about this, after I’ve made and played on a dozen or so reeds that were the softer and harder range that I will gouge just a little differently (thicker gouge for harder cane, thinner for softer gouge) and see if that matters for consistency. I guess if I’m measuring the cane anyway I might as well help it along.

While it adds quite a bit of time to the overall process of cane preparation before gouging, I think I’ll do it for the remaining cane I have sitting in the box. At the very least it’ll weed out those softest pieces. Ultimately it might not save me all that much time, but it will save a little bit of frustration and headache when I would otherwise run into outlier-soft pieces of cane.

Cane density post #3

Tonight I did the “day 2 scrape” which is the first time that I actually get a chance to feel the cane with my hands. Up until now the work is predominantly on machines, including the tip profiler. So with a knife and file and sand paper I really get a sense for what the cane is really like more than visually. Here are a few observations.

The less dense cane (floats more) was less consistent within any individual piece of cane, and also less consistent from piece to piece. Individual pieces would have more variation within the shadow when viewed with a backlight, with more obvious grain patterns, and more variation of dark spots to the general translucency. The harder cane was really consistent except for one piece that had a bit more of a shadowy profile when viewed through a lamp, but all pieces had gradients that were more even from light to dark when viewing the scrap pattern.

There was a marked difference in the “feel” of how the cane scraped. This one is really hard to describe without using the words “soft” and “hard” when describing soft and hard measured cane. But yeah, the softer cane felt … grainier. I could feel the separation between the vascular bundles of the cane. The harder cane, by comparison, felt more like a smooth single sheet when scraping, with less feeling of grain to it.

Visually, there was a greater distinction of color between the bark and the flesh of the cane at the shoulder in the hard cane. The bark was just enough lighter in color, matching the flesh, with the soft cane. This is not a distinction I could notice when just looking at the gouged cane. The bark was all “cane colored” at that point. It’s not until after removing the bark with the profiler that I could notice this difference. I do not think that darker colored bark means harder cane, but it does seem that a greater difference between the color of the bark and the sub-dermal layer might be an indicator. At least when wet.

Sample size is small, so I can’t make a sure data point here, but like with the diameter at the throat (which held when adjusting wires, I think the circumference is smaller on the softer cane) there was a trend of the softer cane here. Of my hard cane reeds, none had any noticeable side slippage in the blank after clipping the tip. Two of the seven soft reeds had very significant side slippage. So much that I would not include these reeds for sale, even if they played fine. I think this is related to how much the softer cane tended to curl within itself when forming the tube. If one side tended to slip inside the other, the blades would end up side-slipped. I don’t think any kind of beveling would have prevented it in these two pieces. The remaining five pieces were fine.

Within the next week I’ll do my third day scrape, which is play testing. But with what I’ve experienced so far, I can say that I would probably not want to bother making reeds with the softest cane here, all other things being equal, mostly due to the geometry issues with the cane curling so much. Maybe it won’t matter so much in the end, but I kind of think it will.

Ruminations on cane density, part 2

After letting the formed tubes settle I have bound and wrapped 13 blanks. Today I am prepping the “day 1” finishing process, which involves reaming, clipping the tip, and using the tip profiler. At this stage I definitely notice some consistent differences between the Hard and Soft pieces of cane, and they’re not too surprising, but I do find it interesting.

Difference 1: The harder cane is more prone to cracking. This was evident in even selecting pieces to shape and profile, and even folding in half before forming. I initially selected 7 of each variety, and of the soft pieces all of them made it through shaping, profiling, forming, binding, without any cracking on the tube at all. Of the harder pieces 2 of them split before I even was able to begin the tube forming process, and I lost one further when folding the cane before forming, so I only ended up with 6 formed blanks instead of 7, with 3 pieces being unusable (so out of 9 pieces of cane total, 3 of them split). Further, of the formed blanks, I could see 2 of the 6 hard pieces formed some superficial cracking on the tube, which is relatively unusual for me overall, so that’s a very high percentage of pieces of cane that have cracking in the tube.

Difference 2: The softer cane curled more in forming than the harder cane. This one is a bit weird, but it makes sense. After putting on the wires you can see some pieces of cane made blanks with narrower throats than others. It’s visually obvious if you’re paying attention, but measuring is more accurate. I used a digital caliper to measure the diameter of the tube between the first and second wire, measured from side to side. The harder cane blanks measured consistently more than .5mm wider than the softer pieces. This means that the hardness of the cane absolutely affects the geometry of the blank. Even when I adjust the wires I won’t be able to make up this difference due to the cane curling on itself on the softer reeds.

Hard cane used in the top row, soft in the bottom row.

Ruminations on cane selection and density testing

Content Warning: Extremely nerdy post about bassoon cane below.

Preface

Most of my reed making does not involve any sort of testing of cane before processing. I take a rather cavalier approach to cane selection, and overall it has worked well for me, with a very high yield of usable reeds from the tube cane I purchase. I generally use a very simple technique of determining a 4-way split of a tube, which only really ensures that the pieces will potentially have the same radial curve. See here for details on this strategy. After that split, I look for the straightest pieces by comparing them to a flat piece of metal and trim them to length. This differs from that process that some reed makers use, that looks for the straightest pieces from each single tube before splitting, and even taking into account vascular bundle density in this process. See this video for this process if you’re interested.

After that, I process it all, and aside from pieces that split on me when handling it, I use every piece that falls within my minimum straightness requirements. Maybe 1 out of 50-100 reeds come out way too soft to make anything out of, and of the pieces that come out too hard, I can usually make those work by scraping down carefully.

So it should come as no surprise that when I say that density testing has not ever been a part of my cane selection process. But in the last few years I thought about how this insight into the cane might either weed out cane that gives me trouble, or might give me thoughts on how to make the end product more consistent, possibly with less hassle in the finishing process. The trick, of course, is deciding if testing the cane for density/hardness is more time consuming than making the occasional bad reed and only finding out when I actually play test it that it’s junk. If it takes me 10 minutes to get a single reed to that stage, out of 100 reeds that’s not a lot of time wasted compared to testing 1000 pieces of cane sometime prior to that stage.

Hardness

I have access to the Reeds ‘n’ Stuff hardness tester at the University of Wisconsin – Eau Claire, and did some testing with it. Essentially I didn’t find it to be a useful metric at all. This kind of test uses pressure on a single point about .5mm in diameter and tests the resistance of that pressure. The more resistance, the harder that spot on the cane, because the bundles of fibers are tighter together and don’t compact much. Less hard cane will offer less resistance. The problem I had with this is that the same piece of cane would show dramatically different numbers depending on where I measured. The same piece of cane would probably be considerably harder in one spot than another, with very few pieces of cane (1% maybe) showing consistent numbers when measured. I would measure straight down the center of a piece of gouged cane, so in theory I would always be measuring the same thickness for every piece, and on every spot on that piece. Without being able to get any consistent metric, it was hard to tell if any measurable difference was resulting in different quality reeds.

I tested 100 pieces and also tracked them individually to see if they changed ratings when I soaked and then dried the individual pieces. Overall there was no a consistent trend. If anyone is really interested, I have a spreadsheet. When I made the reeds, in the end I found no real distinction between generally harder pieces compared to generally softer ones.

Density

A couple years after the Hardness test I got interested again and decided to get a scale and do some actual density testing. This is considerably more time consuming than the hardness test, and is messier. This process involves weighing a piece of cane, and then submersing it in water and seeing how buoyant the cane is by measuring how much it floats, by weighing it again using a contraption that pushes the cane into the water. More dense piece of cane will want to sink in the water more, creating less of a difference between the dry and submerged weight than a less dense piece of cane (that has more air pockets in it and wants to float more). Compared to hardness testing, which takes about 3 seconds per piece of cane to measure, this takes at least 20 seconds per piece of cane. If you’re making 20 reeds a month for yourself that’s not a great time commitment, but I spent a full four hours measuring a significant amount of cane for my reed making business, and that’s more than I would ultimately spend in the pre-gouging and gouging stages combined for all of that cane. And I only got about half way through it all. A large portion of the cane I have cut to length and pre-gouged has not yet been measured.

This lead me to a new experiment that I’m in the middle of right now. But I’ll get to that in a moment.

My idea is that I still want to use as much cane as possible, but if I weed out the most and least dense pieces of cane, I get some consistency I wouldn’t have had (in theory) so separating the cane into Low, Medium, and High density, and then adjusting my gouge to those three levels might mean that I end up with similar end-result hardness in my reeds. Basically I decided to gouge the most dense cane the thickest, so when I profile the cane I’ll be using slightly softer cane farther from the bark. The softest cane would be gouged thinner, so the profile would end up closer to the bark which is harder. Medium cane would be somewhere in the middle. Resetting the gouger is another time sink in the overall process. If this was designed to save me time in the end, it looks like it might be a wash in the end, if not considerably less time efficient.

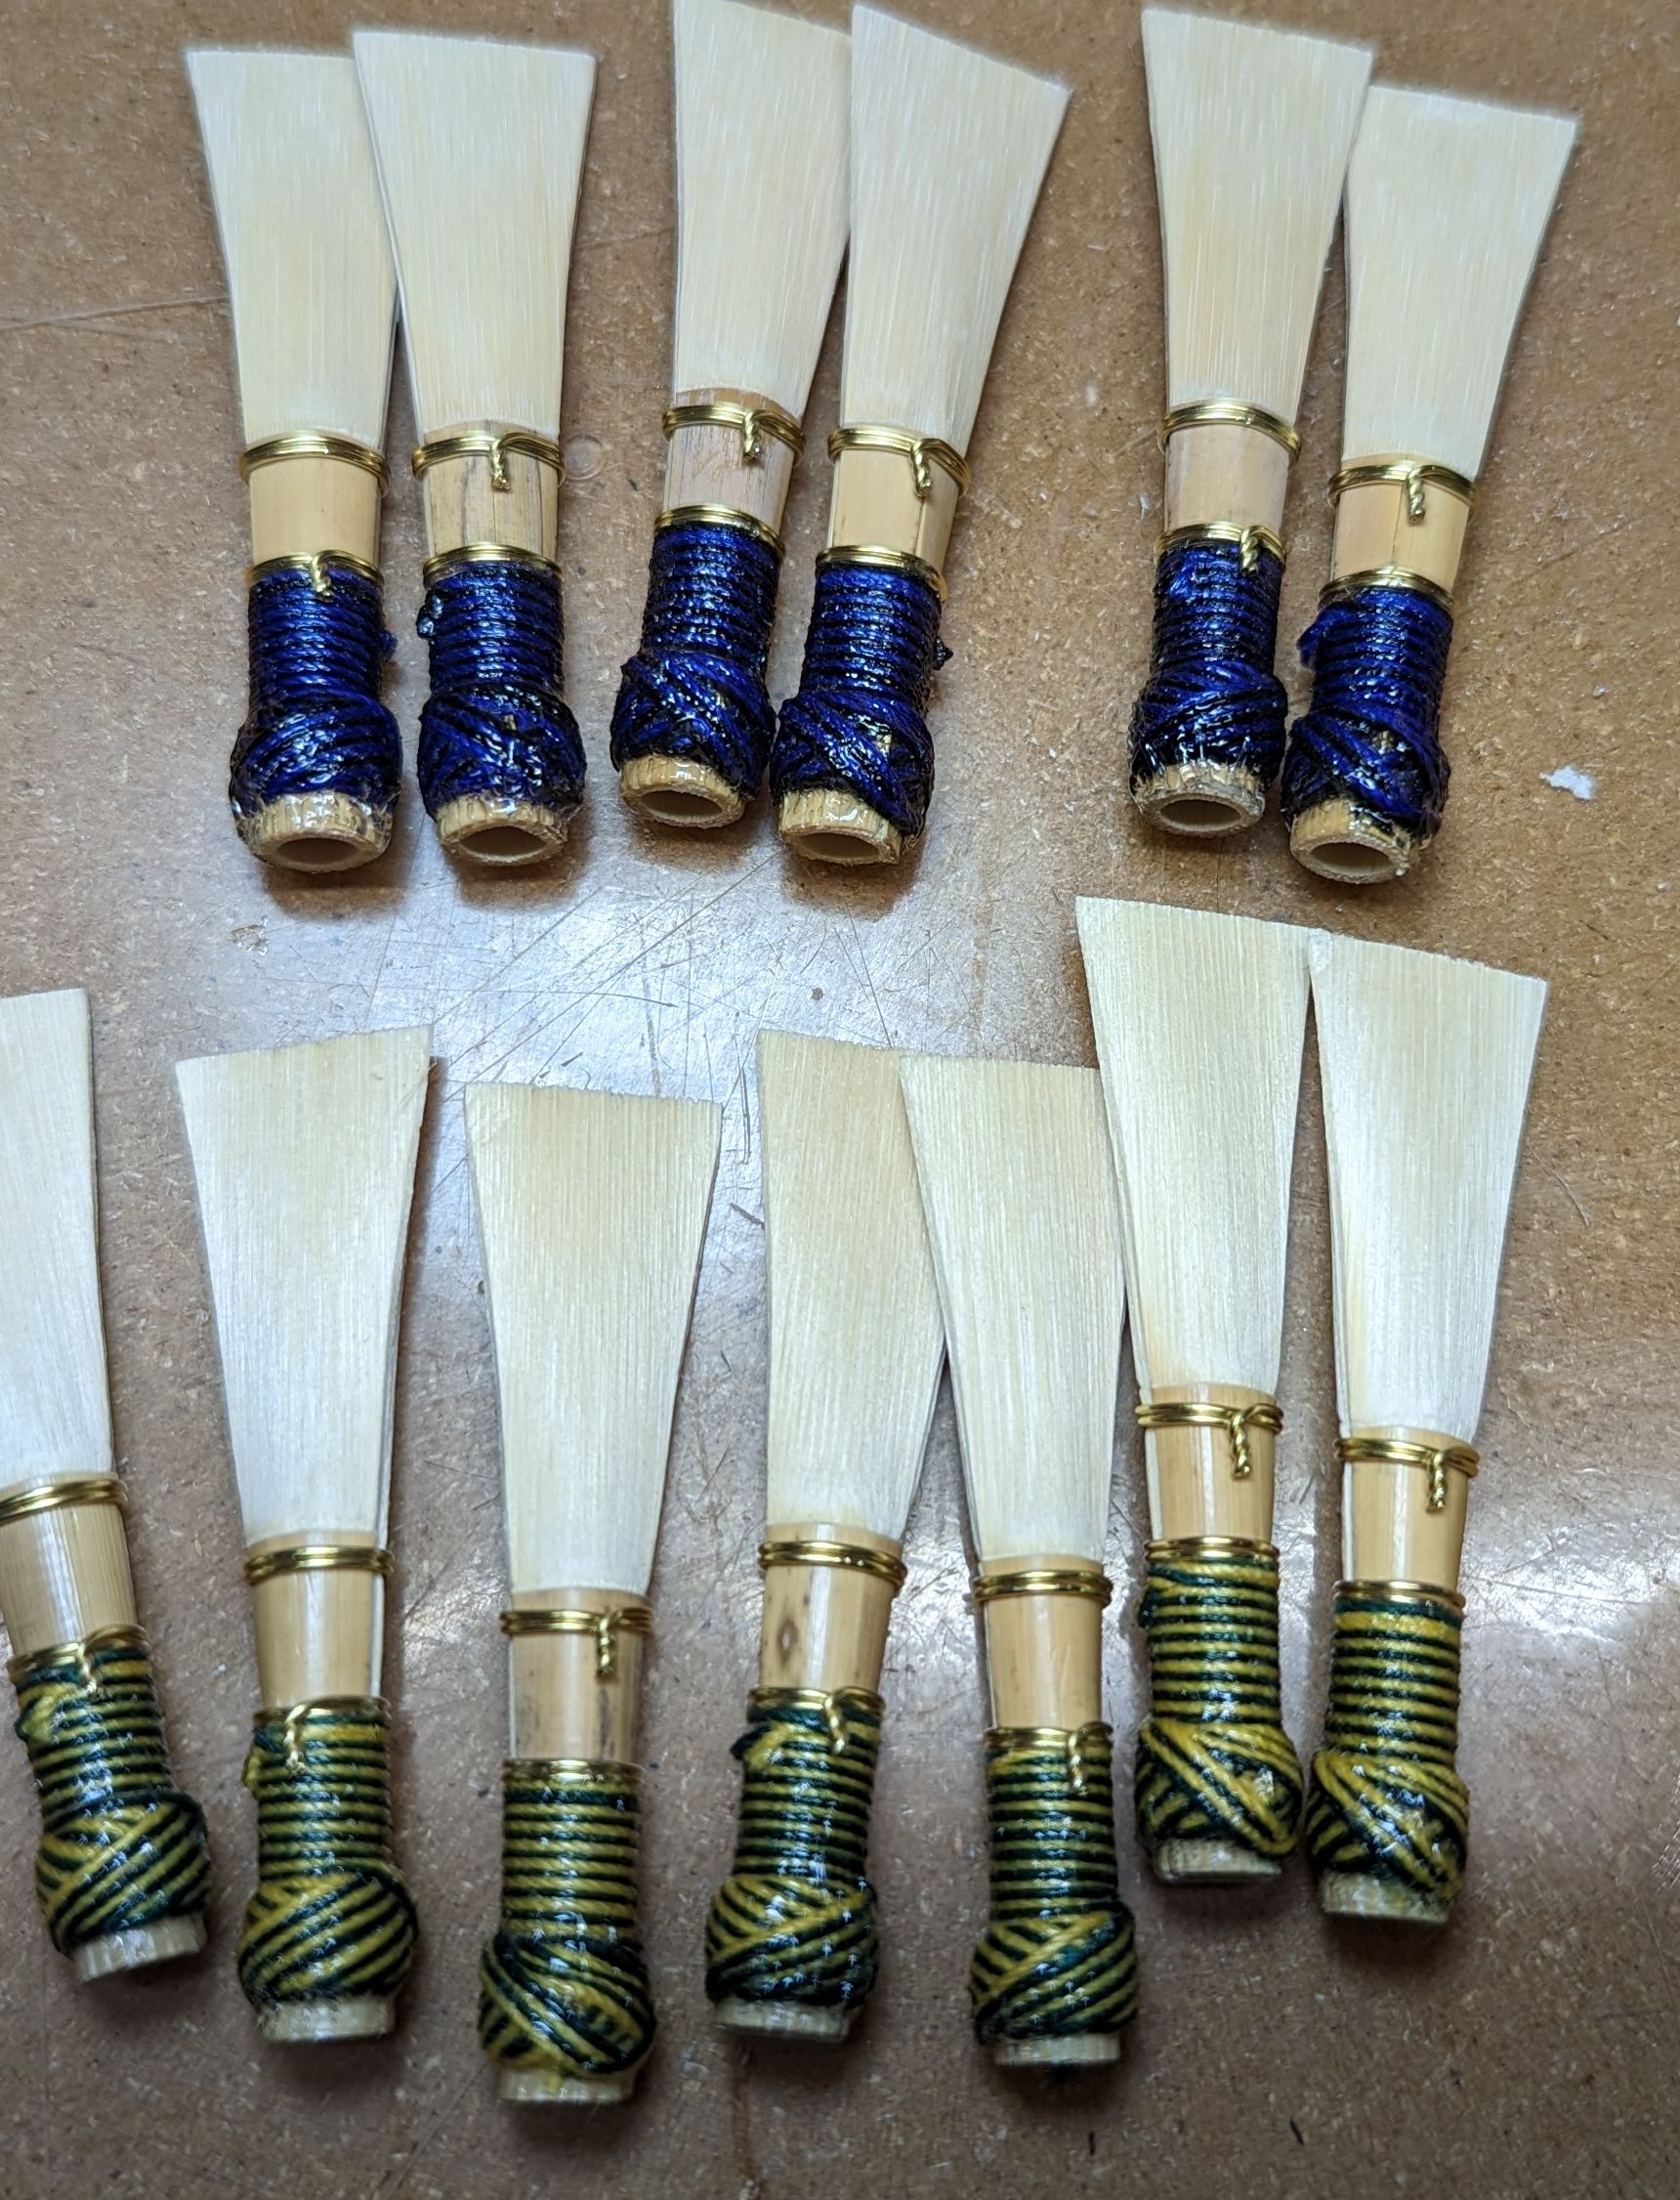
My experiment then is to see just how different the most and least dense/buoyant cane actually is. I have, as of this moment, a number of blanks drying that are at the extreme measurements of the density test. I gouged them all in my “medium” gouge setting, and have done all the prep work the same on all of them, except that I marked them as either “soft” or “hard”. They were all gouged the same day, soaked and dried together, and today I shaped and profiled them all in a batch.

So far I can say only one thing about them: the hardest pieces were the only ones that I had issues with the cane splitting along the grain when handling them. I tried to get 7 of each extreme, and had to actually pull 3 additional pieces of the “hard” batch out because 3 of my original group were brittle and split apart when I was gouging them. Just right up the middle of the cane along the grain. And one more of the hard batch split on me when folding in preparation for forming the tube. We have yet to see if I have some split in the forming process more than the “soft” pieces. I guess this makes sense; the harder cane is more brittle and prone to breaking. The thing is that I would have weeded these pieces out at this stage even if I hadn’t measured them.

To be continued……

Taking a short break from reed making, surgical recovery

My customers are awesome, and I’m so happy you like the reeds I make for you. Unfortunately I have to have surgery related to my cancer treatment that will make me unable to make reeds for most of the month of December.

So I will continue to take orders until Sunday, November 27, after which point I will disable bassoon and contrabassoon reed orders until I am able to play again, probably after Christmas. Any orders placed will be shipped by December 8 (the actual day of surgery).

I can still fulfill orders for pickups, Ozi caprice sheet music, and scale cards through December.

Benefits of randomized practice, and how to apply this to your scales!

When I was an undergrad I drilled my scales every day. Every practice began with 36 scales; every major, harmonic minor, and melodic minor. At first, I did this the way most people do: by reading from a scale sheet that probably went in order of increasing flats and then increasing sharps. Or it was by going around the circle of fifths. In whatever way, the pattern was always the same, increasing in difficulty generally, and probably not spending enough time on the minor scales.

Sound like you?

There’s a better way to practice scales that I figured would be a good idea, and my second year of undergrad I upped the game and started playing the scales in a random order. After all, in my jury I wouldn’t know what scale they would ask for, and I had to be able to play whatever scale they asked without working my way up to it first. So some days I started on C or F major, and other days it was E-flat minor. I took an old deck of cards and wrote the scale names on them, shuffled the deck, and then played through the deck.

It turns out my idea was sound, and studies have confirmed that this kind of practicing strategy can really improve performance in the real world. It certainly helped me on my juries.

So now I have designed and had professionally printed decks of cards specifically for this purpose. The Daily Scales cards promote practicing your scales in a random order, mixing minor and major scales, and making sure you get to all of them each time you practice. The deck can make sure you keep your practicing organized!

Here are some ideas for how you can use the deck:

  • Shuffle and play through the deck, the simplest way to use the cards. You can play whatever range you need, and whatever pattern, and you’re guaranteed to get all of the scales exactly once.
  • Shuffle and play some cards, then practice an etude, and the deck will be there for you with remaining cards for later in practice. This mixes up the random scales much like the BPM article above mentions to do, and again makes sure you get all the scales exactly once.
  • Use them for arpeggio studies
  • Jazz musicians: use them for ii-V-I turnaround patterns in all keys (use melodic minor as a TT sub option and harmonic minor as the regular in-key chords)
  • Separate the scales you need more work on, and go back to those in an organized way.

The deck is professionally printed and the material construction is great. The cards aren’t sticky at all so they shuffle really easily. They’re the same size as a standard card deck and should fit easily in your instrument case.

Order here!

Upcoming new products!

Daily Scales randomized scale practice card deck! I’m still working out pricing for the initial run of these cards.

New edition of the Ozi 42 Caprices With a duet part!!! I’m in the final stages of getting these done. The music is ready, still getting printing and publishing details worked out. I’ve completely re-type-set the original Caprices and included dynamic markings, measure numbers, and new layout. The duet part was the big reason I did this, and I’m very happy with the end result.

I’ll be selling both through my website, and will also try to get these to prominent double reed retailers for your convenience.

What to expect from my reeds, breaking in, and adjustment strategies.

I’ve had a number of new customers lately since GoBassoon had to retire from reed making. With new customers comes new questions so I thought I would make a kind of FAQ about my reeds, what they are like, my normal adjustment suggestions, and what my philosophy is regarding how a bassoon reed should function.

First, what are my reeds like? My goal for reeds is to make a vibrant and free blowing reed, that’s especially easy in the low register without compromising the ability to play very high notes. While most players enjoy the volume and power that comes with my design, a few find my reeds overly bright for their tastes or bassoon. You should know that I typically play test the reeds a minimal amount, and they will change as you play on them.

Reeds too soft?

So what should you expect when breaking in the reeds? You may find that at first the reeds might be softer than you are used to from other reeds, especially more commercial and mass produced ones. I have found that most reeds, “off the shelf”, are considerably harder than what I like. I also know that the cane will stiffen up as you play on the reed, the most in the first hour of playtime, but for a few hours more you’ll see a little more change. So if the E3 pitch is sagging for you when you first try the reed, you can probably get it to be stable with less force to the reed, but eventually if you play on it (practice scales or do long tones on it) for a while you’ll notice the E becomes more stable, and the low register will tighten up a bit as well. Slurring across octaves will be easier and the tone color will tamper down a bit.

Sometimes a little softness or flabbiness can be caused by a 2nd wire that got a little loose as the reed settled in. With your pliers (and with a long mandrel in the reed) pull the wire tight and twist counter-clockwise to pull out any slack.

But what if it’s not just the E that sags, but also the C-sharp or D!? Sometimes, depending on how you blow and what your bassoon is like, a reed will arrive too soft even after a break in period. At that point, you’ll see that another advantage of sending reeds that are lighter in the scrape and on the soft side, is that if the reed needs to be adjusted it’s usually by clipping the tip. This is probably the easiest adjustment, after wire adjustments. Trim the reed .5mm and see if it then responds the way you like in the middle of the bassoon range. You can probably go as far as 1.5mm shorter if it’s actually really soft for you, but any more than that and weird things will happen to the resonance of the reed. If I sent reeds that are too hard, you would have to know where and how much to scrape, which is a harder skill to learn.

So to summarize:
1. The reeds will be brighter at first, and will darken over a little break-in period on scales or long tones.
2. Check the tightness of the 2nd wire when the reed is totally soaked up. If you can pull a lot of slack out of it, tighten it up and see if that does the trick.
3. If the reed doesn’t hold the E after a break-in period, trim .5mm at a time until it’s stable, up to 1.5mm total.

Reeds too hard?

If you find the reed is a bit stuffy, especially after a while of breaking it in, you’ll need to do some scraping, probably. You can always start by adjusting the roundness/flatness of the first wire.

Look at the reed with a light shining behind it and see if the back 1/2 of the reed (closest to the wire) is significantly darker than the rest of the reed. If so, lightly sand with 400 grit sand paper or use a file across that entire dark area. Taking off just a tiny little bit! A little will go a long way with this.

If the back 1/2 isn’t significantly different in shade than the “heart” of the reed, you can actually feel safe removing material from the heart. I use a knife for this, but sandpaper or file will remove more broadly but less at a time, so it might be safer.

Summer vacation, and temporary hiatus

I am going on vacation and immediately upon returning I am having carpal tunnel surgery on both of my wrists. I have currently sold out of my current stock of reeds and will not be able to make more until late August at the earliest. I am not taking orders at this time. Please feel free to contact me if you would like me to let you know when I am making reeds again so you know when you can place an order. I appreciate your understanding.

Thank you to all of my loyal customers. I promise to get back to reed making as soon as I am healed from surgery, hopefully in time for fall auditions! I have a bunch of blanks ready to go for finishing.

New digs, office, pandemic related school year, online teaching, and more!

The month of August was a busy one for me. We sold our home in Columbia Heights (Minneapolis) and finally made the move to Eau Claire so I can be closer to my teaching duties. Of course, all of my teaching duties are now all online, as are the classes for my daughter in her new school. My new home office isn’t as large or as dedicated, but we got some better space for the kids to play, and a lovely corner in our living room for musical activities (and is the new home for my bassoon lamp).

So with that said, there was some delay on a few reed orders, and my label printer didn’t survive the move (although the print shop that tried to repair but couldn’t has a replacement for me at a reasonable price). Thank you for those of you that ordered between August 15 and September 1 for your patience.

If anyone happens to read this and is in need of bassoon lessons, hit me up for some online lessons.